Clip in hair extensions has become very popular in recent years. Mostly for their convenience, but also for the vast variety of brands available on the market to consumers. Clip in hair extensions should not be worn for long periods of time, as the tension from the clips can cause damage to your natural hair.
Depending on the widths of your wefts from your set of clip in hair extensions, the directions may vary. However, just make sure the wefts are placed appropriately where they fit comfortably on your head. Below is a simple step-by-step tutorial on the best way to apply clip in hair extensions.
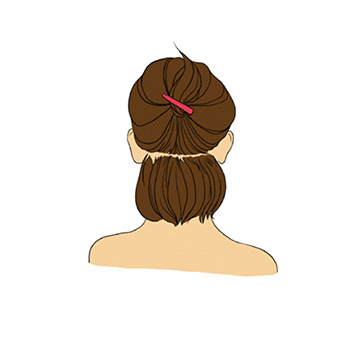
STEP 1
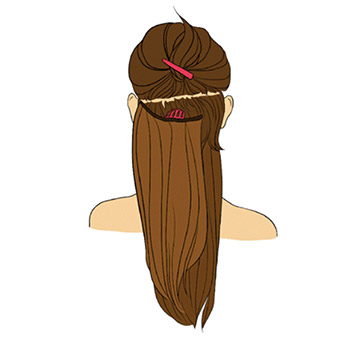
Use your fingers or a tall comb to separate the area of your hair where the clips would be placed.
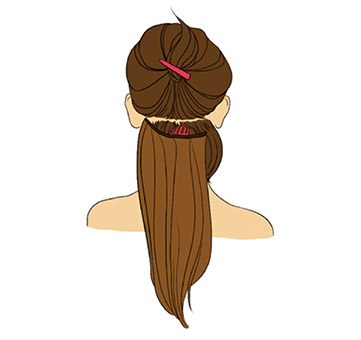
STEP 2
Select the desired length clip in hair extensions and insert at the separated hair. Close the clips at the preferred location to secure the extension.
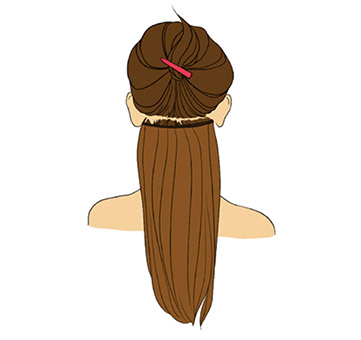
STEP 3
Attach your ideal amount of skin weft close to your scalp, but not on your actual scalp (press firmly).
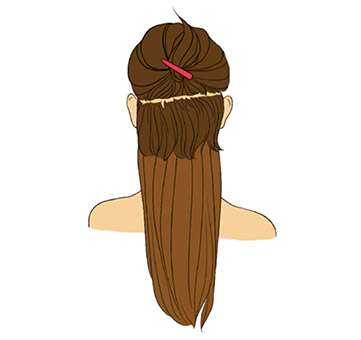
STEP 4
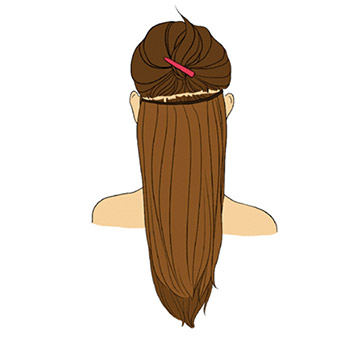
Release the top section of your hair to cover the extensions.
STEP 5
Repeat the steps for as many clip in extensions that you want to add. Make sure that you leave enough hair on the top section of your hair to cover the previous extensions.
STEP 6
Repeat steps 3 through to 5.
STEP 7
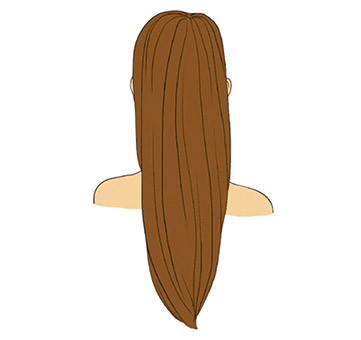
Repeat this process with the other pieces until the desired look is achieved.
 Cart
(
Cart
(