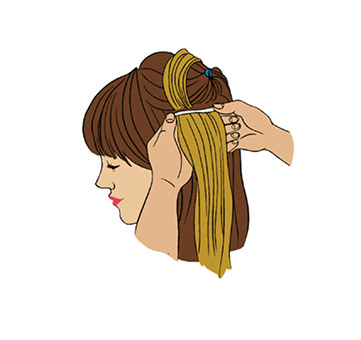
Tape hair extensions are the hottest trend in hair extensions right now. Easy, quick and efficient to apply, tape hair extensions have become the hair extension product of choice for both consumer and hair stylists. This is because they are comfortable, inconspicuous, easy to install and maintain whilst providing an array of natural colours that blend in seamlessly with your own hair.
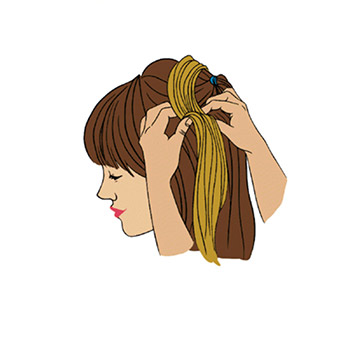
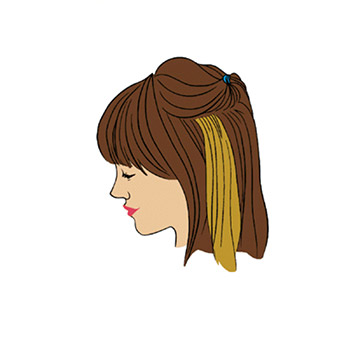
Depending on the amount of wefts, the directions may vary. However, just make sure the wefts are placed appropriately where they fit comfortably on your head. Below is a simple step-by-step tutorial on the best way to apply tape in hair extensions.
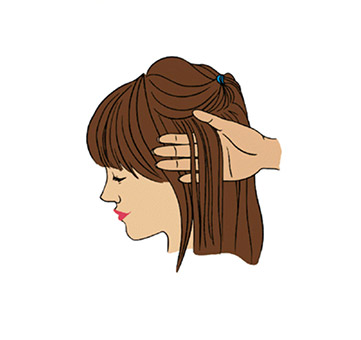
STEP 1
Create a horizontal part to place the skin weft at your desired location.
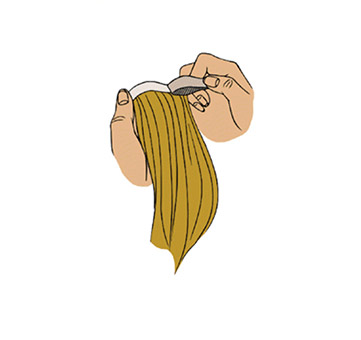
STEP 2
Remove the protective film from the skin weft tape.
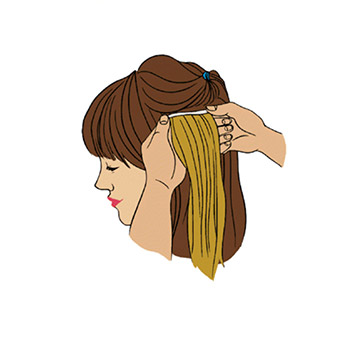
STEP 3
Attach your ideal amount of skin weft close to your scalp, but not on your actual scalp (press firmly).
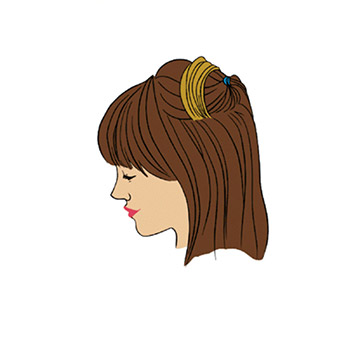
STEP 4
Lift the skin weft and your natural hair and make another horizontal part right below.
STEP 5
Attach the remaining skin weft right underneath.
STEP 6
Insert your natural hair between the two skin weft sections that you created and press firmly.
STEP 7
Continue to apply any remaining skin wefts in needed areas.
 Cart
(
Cart
(